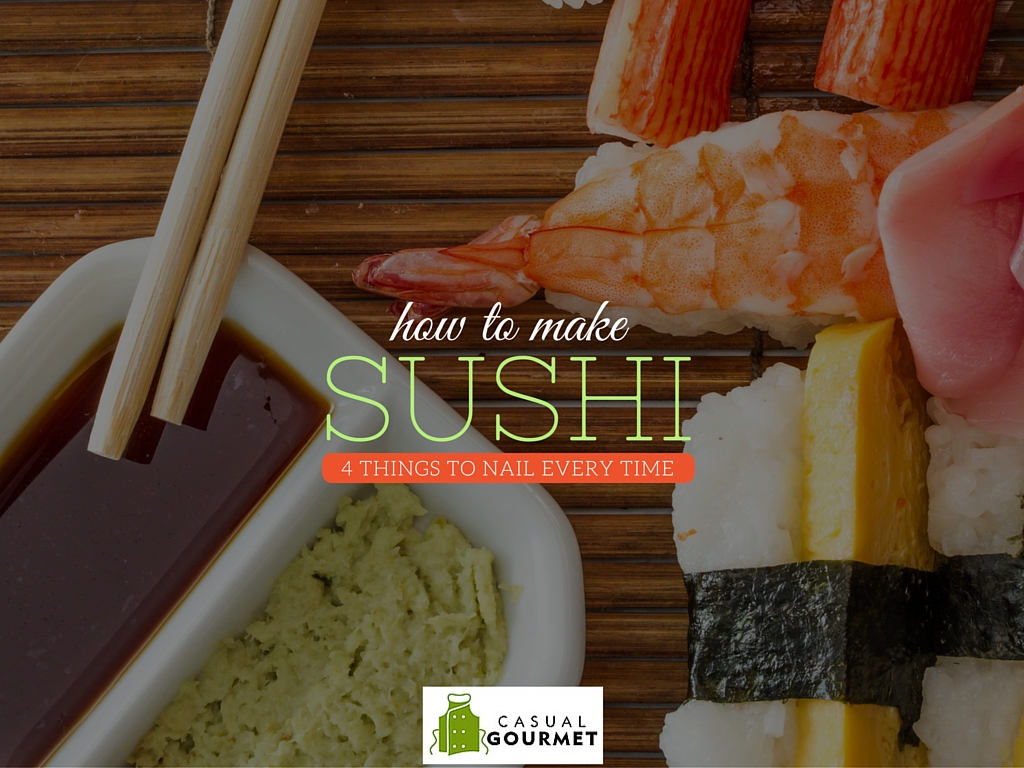
How to Make Sushi: 4 Things You Have to Nail Every Time
Stevie Wonder crooned it best, “Isn’t sushi lovely? Isn’t hibachi wonderful?”
Okay, okay . . . maybe that’s not exactly how it goes, but the sentiment stands! Making delicious sushi is more than just slapping some raw stuff atop a bit of seaweed. A good sushi chef appreciates the artistry and science behind sushi making. Here we break down the secret components of this age old craft. Grab your rolling mat. Roll up your sleeves. With these simple tricks, the coveted itamae coat is within your reach.
Quality Time: Using Quality Sushi Ingredients
A good sushi restaurant’s yard stick? The quality of ingredients used. Sushi grade seafood, properly dried seaweed, even the stickiness and flavor of the rice is tantamount to success. One can’t produce a brilliant DaVinci painting using old chalk pieces. Likewise a savory sushi masterpiece will only arise when the ingredients used are delicious in and among themselves. Before making your creation, taste your products. If they aren’t great to begin with, they won’t help you create a great finished product. Choose wisely by knowing your fish merchants or shopping at a trusted, higher-end store.
Variety Show: Be Creative with Your Sushi
Not content with the old standby California rolls? When it comes to sushi, the world is your oyster. Check out the web for inspiration, then get creative with your ingredients!
The Rice is Right
Technically, a slab of spam atop rice could be deemed sushi. Rice is the foundation for sushi. Creating perfect sushi rice that is sticky without being gummy and fluffy without being overcooked is a time-honored skill.
Five important steps must be adhered to in order to churn out perfect sushi rice every time.
- Choose wisely, Karate Kid. Short grain rice is much starchier and round than long grain rice and will bond together more readily, bonding well.
- Then rinse again. Then rinse again. Then… well, you get the idea. Rinse approximately 5 or 6 times to rid the exterior of each grain of unwanted starch. Each grain is packed with internal starch (the good stuff) that will emerge during the cooking process. The exterior starch will just create a big gummy ball. The water should run clear after proper rinsing occurs.
- Say ‘Sayonara!’ to your microwave. A rice cooker not only helps create perfectly steamed rice without the guesswork, it also provides a moist haven for extra rice to hang out while waiting its turn on the mat.
- So su me. No, really. Su is a vinegar solution that contributes a pleasant shininess as well as a slightly tart and sweet flavor. Once rice is cooked, fold in your su mixture so it happily permeates each grain. The result? A sinfully delicious carb with an aroma that wafts through the house shouting, “Home!”
- Su:
1/2 cup sugar
1 cup rice wine vinegar
1/4 cup sake or mirin
- Su:
- Gently heat ingredients in a saucepan to dissolve and mix. Allow to cool to room temperature. Voila! Su! Pour su over 4 cups cooked sushi rice, gently folding to combine. Let rice stand for 10 minutes, then fold again.

Rock N’ Roll: Creating the Perfectly Rolled Sushi
Now that your OMG-worthy rice is finished, grab a heaping tablespoon with your hand. Roll it around in your palm, caressing it like your long lost lover, until you’ve formed a small pillow. Place your perfectly sliced protein atop this pillow for Nigiri-awesomeness.
If you desire a more cylindrical fare, heed the compact sushi roll. Complete the below steps and you’re on your way to rockin’ and rollin’ with the best of ‘em.
- Feel your way. The nori has a rough side and a soft side. Lay your seaweed down with the rough side facing up.
- Fill a ramekin with a water-rice wine vinegar solution in a 4:1 ratio. Dip your fingers in this solution to prevent sticking.
- Cover the bottom three-fourths of seaweed sheet with a thin layer of rice.
- Layer a small selection of vegetables, spices and protein on top of the rice on the bottom third of the nori sheet.
- Now, the final test. Place the tips of four fingers of each hand on top of your ingredients. Roll the mat over the bottom of the nori using your thumbs, almost like a tight burrito.
- Let rest for a few moments, then use a sharp chef’s knife to slice the log horizontally.

Take a Sushi Making Class!
As legend has it, the practice of making sushi began along the Mekong River in Southeast Asia by pressing together cured fish between rocks. “Sushi” translates to “sour-tasting” because of the umami flavor of the original sushi. Fresh fish was pressed between layers of fermented rice using heavy boulders. Over time, the acid in the fermented rice acted as a cooking agent to create fermented fish, or sushi. Centuries later, we still can’t get enough!
If you’re interested in learning to make sushi, check out Casual Gourmet’s sushi making class, held at the Culinary Institute of Virginia. Register online today or give us a call at (757) 217-3189.
Great lesson last night! Food for ThoughtPrinciples of cooking with Heat with Chef Douglas Cooperman
Posted by Princess Lipscomb on Wednesday, September 16, 2015
DISCLAIMER – Casual Gourmet makes no claim, warranty, or guarantee as to actual outcomes for past or current attendees. The Casual Gourmet website is published for informational purposes only. Every effort is made to ensure the accuracy of information contained on the CasualGourmet.com domain; however, no warranty of accuracy is made. No contractual rights, either expressed or implied, are created by its content.


